
DIY Golf Mat: A Complete Guide
By Simeon Johal / 23 September 2024
Golf is a game where accuracy, practice, and consistency are essential for success.
Whether you’re just starting out or already an experienced player, having a good practice setup at home can greatly improve your skills.
However, many golfers struggle to find affordable and reliable tools for home practice, especially when it comes to a quality DIY golf mat. A DIY Golf Mat can be a cost-effective solution for practicing at home without breaking the bank.
Golf mats are essential for at-home practice, providing a realistic surface to hit from, but they can be costly, with prices ranging anywhere from $200 to $1000 or more, depending on the size and quality.
Luckily, there’s an alternative to buying expensive golf mats – you can build your own.
Not only is this a more affordable option, but it also allows you to customize the mat to your exact preferences.
In this comprehensive guide, we will walk you through everything you need to know about building your own DIY golf mat, from materials and tools to step-by-step instructions on construction.
By the end of this guide, you’ll have the knowledge to create a High-Quality Golf Mat at a fraction of the cost of buying one.
Related Article: Best Golf Carts for 2024
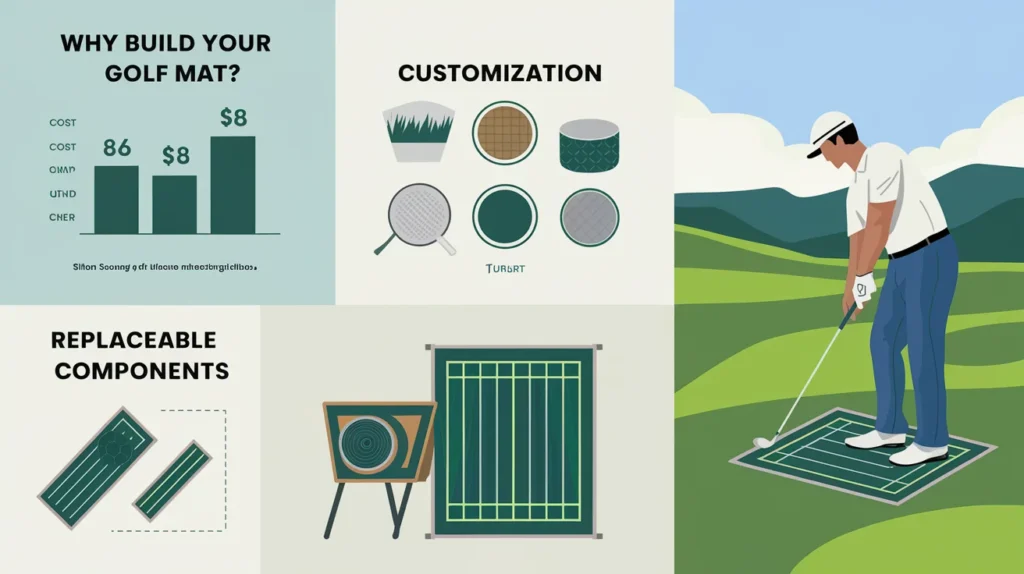
Why Build Your Own Golf Mat?
Before we get into the steps, let’s first look at why building your own DIY golf mat is a great idea. Understanding the benefits of a DIY golf mat will help you see why it’s worth the effort.
There are several key advantages to taking the DIY route:
1. Cost Savings
As mentioned earlier, high-quality golf mats can be quite expensive, often costing several hundred dollars or more.
By building your own, you can achieve a similar level of quality for a fraction of the cost.
In many cases, you can create a durable and functional mat for just a few hundred dollars or less, depending on the materials you use.
2. Customization
When you build your own golf mat, you have complete control over its size, shape, and features.
Whether you want a simple hitting mat or a full hitting platform that spans from the ball to the net, you can design your DIY mat to suit your specific practice needs.
You can also customize the mat’s appearance, texture, and feel by selecting different materials, such as fairway turf, astroturf, or outdoor carpet.
3. Replaceable Components
Another advantage of building your own golf mat is that you can design it with replaceable components, such as hitting inserts. Over time, even the Best Golf Mats will wear down in the areas where you hit the ball.
By incorporating a replaceable hitting insert into your DIY mat, you can easily swap out the worn section without needing to replace the entire mat.
This can significantly extend the life of your mat and reduce long-term costs.
4. Satisfaction of Creating
There’s a sense of pride and accomplishment that comes with building something yourself.
When you hit your first shot off a golf mat you built with your own hands, it adds an extra layer of satisfaction to your practice sessions.
You’ll also have the freedom to experiment with different designs, materials, and features, making the process both enjoyable and rewarding.
Related Article: Best Golf Balls for Beginners 2024
Materials and Tools Needed for Your DIY Golf Mat
Before you begin building your golf mat, it’s important to gather all the necessary materials and tools.
The good news is that most of the materials are readily available and affordable, and you may even have some of them on hand already.
Below is a comprehensive list of the materials and tools you’ll need for this project.
Materials:
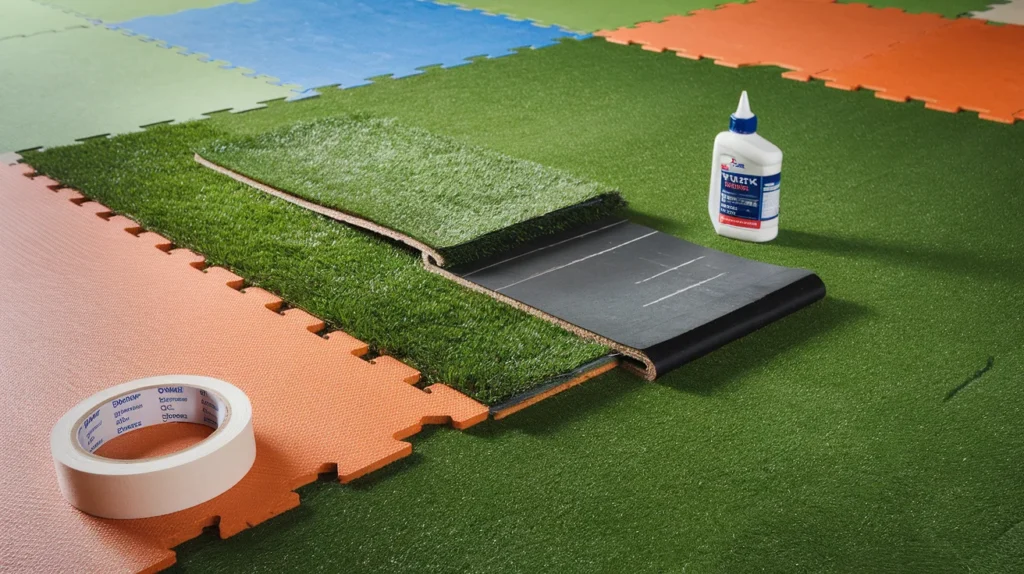
- Interlocking Puzzle Floor Tiles:
- These are commonly used for flooring in gyms or playrooms and are available in various sizes. They provide a cushioned and stable base for your golf mat, absorbing impact from your clubs while providing a comfortable surface to stand on. You can purchase these tiles in packs, and they are typically made of foam or rubber.
- Fairway Turf or Outdoor Carpet:
- This will serve as the top layer of your golf mat, replicating the feel of a fairway. Fairway turf is specifically designed for golf practice and provides a realistic surface to hit from. Alternatively, you can use outdoor carpet, which is a more affordable option that still mimics the texture of grass.
- Hitting Insert:
- A replaceable hitting insert is a crucial component of your DIY mat. This is the section of the mat where you will be making contact with the ball, so it’s important to choose a durable material that can withstand repeated use. Commercial hitting inserts are designed for golf mats and can be purchased online. Look for inserts that are durable and easy to replace.
- Adhesive or Double-Sided Tape:
- You’ll need adhesive or strong double-sided tape to secure the fairway turf or outdoor carpet to the interlocking puzzle tiles. This will keep the layers in place and prevent them from shifting during use.
- Turf Glue (Optional):
- For a more permanent solution, you can use turf glue to secure the hitting insert and other layers of the mat. Turf glue is designed for outdoor use and provides a strong, durable bond.
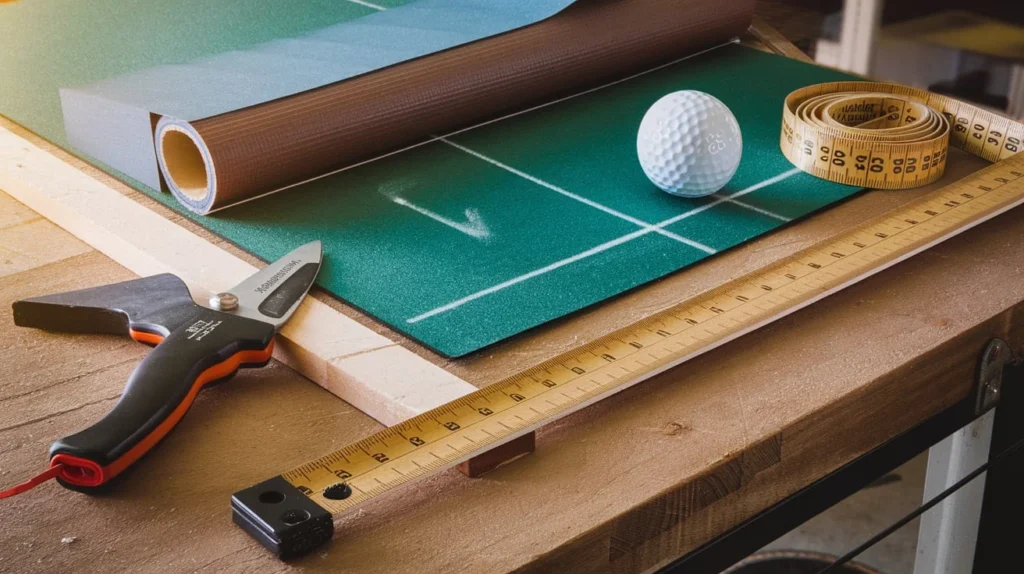
Tools:
- Utility Knife or Box Cutter:
- You’ll need a sharp utility knife or box cutter to cut the fairway turf and interlocking puzzle tiles to the correct size. Make sure to use a new blade for clean and precise cuts.
- Straight Edge or Ruler:
- A straight edge or ruler will help you make straight and accurate cuts when cutting out the hitting insert section and trimming the turf.
- Measuring Tape:
- A measuring tape is essential for measuring the dimensions of your golf mat and ensuring that everything is properly aligned.
- Marker or Chalk:
- Use a marker or chalk to mark where you need to make cuts, especially when cutting out the area for the hitting insert.
Related Article: Best Golf Stand Bags 2024
Step-by-Step Guide to Building Your Own DIY Golf Mat
Now that you have all the necessary materials and tools, it’s time to start building your golf mat.
Follow the step-by-step instructions below to create a high-quality, customizable mat that will serve you for years to come.
Step 1: Determine the Size of Your Golf Mat

The first step is to decide on the size of your golf mat. The size will depend on the space you have available and how you plan to use the mat.
If you’re building a mat for full swings, a smaller mat (about 3×5 feet) may suffice.
However, if you’re creating a larger hitting platform that spans from the ball to the net, you’ll need more space.
Measure the area where you’ll be using the mat and mark the desired dimensions. If you’re unsure, a 3×5 or 4×6-foot mat is a good starting point for most golfers.
Step 2: Lay Down the Interlocking Puzzle Floor Tiles
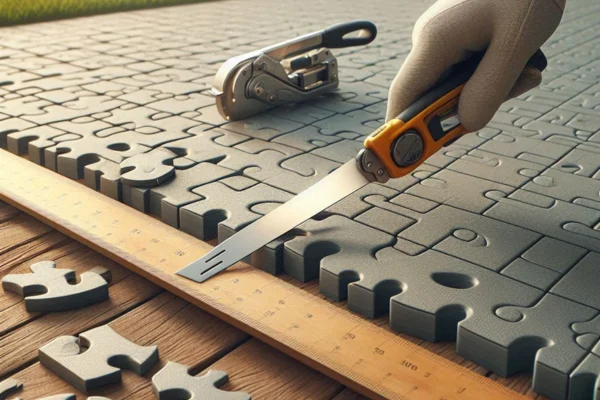
Once you’ve determined the size of your golf mat, it’s time to lay down the interlocking puzzle floor tiles.
These tiles will serve as the base layer of your mat, providing cushioning and stability.
Start by laying the tiles on a flat surface, interlocking them to cover the area of your mat.
If your mat will be larger than the standard size of the tiles, you may need to cut some of them to fit. Use a utility knife and straight edge to make clean, straight cuts where necessary.
Make sure that the tiles are securely interlocked and that the surface is even and flat.
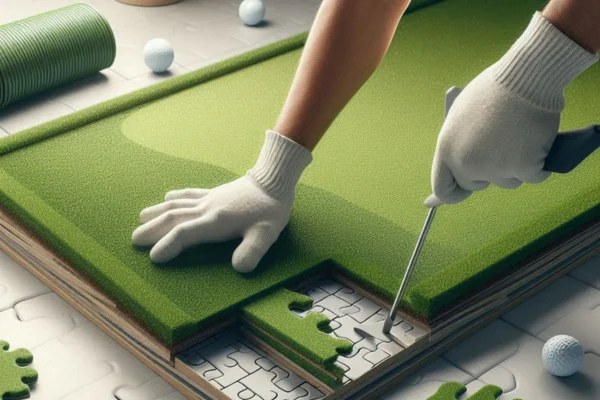
Step 3: Cut Out the Area for the Hitting Insert

Next, you’ll need to cut out a section of the interlocking puzzle tiles where the hitting insert will be placed.
The hitting insert is the area where you’ll strike the ball, so it needs to be positioned in the middle of the mat, aligned with where you’ll be standing.
To do this, measure the dimensions of the hitting insert and mark the corresponding area on the puzzle tiles using a marker or chalk.
Use a utility knife to carefully cut out the section of tiles where the hitting insert will go. Take your time to ensure that the cut is clean and precise.
Step 4: Lay Down the Fairway Turf or Outdoor Carpet
Once the base layer is complete, it’s time to add the top layer of fairway turf or outdoor carpet.
This layer will replicate the feel of a real fairway and provide a realistic surface to hit from.
Lay the fairway turf or outdoor carpet over the interlocking puzzle tiles, making sure that it covers the entire surface of the mat.
If necessary, trim the turf to fit the dimensions of your mat using a utility knife and straight edge.
Before securing the turf, mark and cut out the section where the hitting insert will go.
This should match the area you cut out from the puzzle tiles in Step 3.
Step 5: Attach the Turf to the Puzzle Tiles
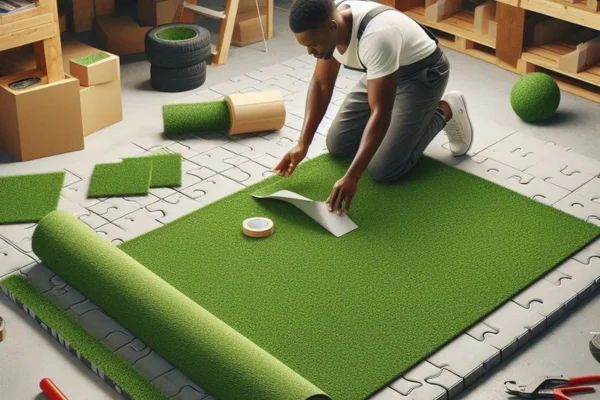
Once the fairway turf or outdoor carpet is properly positioned, it’s time to attach it to the interlocking puzzle tiles.
You can do this using adhesive, double-sided tape, or turf glue, depending on your preference.
For a temporary attachment, use strong double-sided tape to secure the edges and corners of the turf to the puzzle tiles.
This method allows you to easily remove or replace the turf if needed.
For a more permanent attachment, apply adhesive or turf glue to the back of the turf and press it down firmly onto the puzzle tiles.
Make sure to smooth out any wrinkles or bubbles as you go to ensure a flat, even surface.
Step 6: Insert the Hitting Insert
With the top layer of turf in place, it’s time to insert the hitting insert.
The hitting insert should fit snugly into the cutout section of the puzzle tiles, providing a designated area for striking the ball.
Place the hitting insert into the cutout section, making sure that it’s level with the surrounding turf.
If needed, you can use adhesive or turf glue to secure the insert in place, but in most cases, it should stay in place on its own.
Related Article: DIY Solutions for Custom Golf Ball Retrievers
Tips for Customizing Your DIY Golf Mat
One of the major benefits of building your own golf mat is the ability to customize it to your liking.
Here are a few additional tips for customizing your mat:
1. Add Multiple Hitting Surfaces
If you want to practice a variety of shots, consider incorporating multiple hitting surfaces into your mat.
For example, you could include sections of fairway turf, rough turf, and even a sand trap simulation.
This will allow you to practice different types of shots without needing multiple mats.
2. Incorporate Alignment Aids
To help improve your swing accuracy, you can add alignment aids to your mat.
These can be as simple as lines or markers on the turf that indicate where to place the ball or how to align your stance.
Alignment aids can be helpful for both beginners and experienced golfers looking to refine their technique.
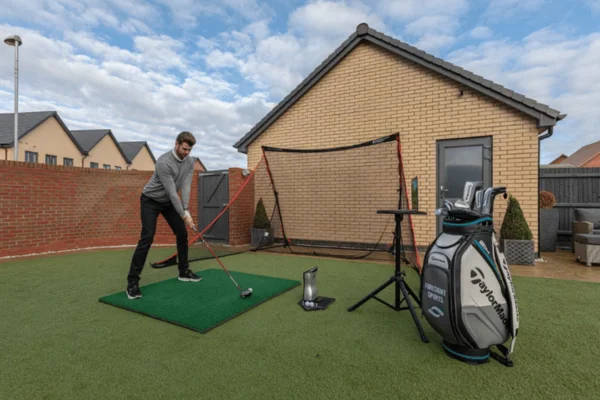
3. Create a Larger Hitting Platform
If you have the space, consider expanding your golf mat into a larger hitting platform.
This could include a standing area for your feet, as well as space for a net or screen behind the mat.
A larger platform provides a more realistic practice environment and gives you more room to move around during practice.
4. Use Recycled Materials
For an eco-friendly option, consider using recycled materials in your golf mat.
For example, you could use leftover carpet, foam padding, or scrap wood to create the base of the mat.
Not only will this help reduce waste, but it can also save you money on materials.
The Pros and Cons of Building Your Own Golf Mat
As with any DIY project, there are both advantages and disadvantages to building your own golf mat.
Let’s take a closer look at the pros and cons of this approach:
Pros:
- Cost Savings: One of the biggest advantages of building your own golf mat is the cost savings. You can create a high-quality mat for a fraction of the price of purchasing one from a retailer.
- Customization: When you build your own mat, you have complete control over its size, shape, and features. This allows you to create a mat that perfectly suits your practice needs.
- Replaceable Components: By designing your mat with replaceable components like a hitting insert, you can extend its lifespan and save money in the long run.
- Satisfaction of Building: There’s a unique sense of satisfaction that comes from building something yourself. Using a mat you created adds an extra layer of enjoyment to your practice sessions.
Cons:
- Time and Effort: Building your own golf mat requires time, effort, and some level of skill. If you’re not comfortable with DIY projects, it may take longer than expected to complete.
- Risk of Lower Quality: While it’s possible to build a high-quality mat, there’s also a risk that the final product won’t be as durable or effective as a professionally made mat. If you use subpar materials or make mistakes during construction, the mat may wear out quickly.
- Initial Cost: Although building your own mat can save money in the long run, there is still an initial cost associated with purchasing materials and tools. Depending on the quality of the materials you choose, the upfront cost could be higher than expected.
Is It Worth Building Your Own Golf Mat?
Ultimately, whether or not it’s worth building your own golf mat depends on your personal preferences, budget, and DIY skills. If you enjoy hands-on projects and want to save money, building your own mat can be a rewarding experience.
You’ll have the freedom to customize the mat to your liking and the satisfaction of knowing you created it yourself.
However, if you’re short on time or not confident in your ability to complete the project, it may be worth investing in a professionally made mat.
While it may cost more upfront, you’ll have the peace of mind that comes with knowing you’re getting a durable and high-quality product.
Expert Opinion: Mastering the Art of the DIY Golf Mat
Creating your own DIY golf mat is a smart and budget-friendly way to improve your at-home practice routine.
With the right materials, tools, and some patience, you can build a durable, high-quality mat that will last for years.
Whether you’re working on full swings, short game shots, or perfecting your putting stroke, a DIY golf mat offers the perfect solution for golfers at every skill level.
By following the steps in this guide, you’ll create a customizable DIY golf mat that not only saves you money but also enhances your practice experience.
Take your time, select high-quality materials, and explore various designs and features to craft the ideal DIY golf mat tailored to your needs.
So, gather your materials, roll up your sleeves, and prepare to build the ultimate DIY golf mat—your game will be grateful!
So, gather your materials, roll up your sleeves, and get ready to build the ultimate DIY golf mat – your game will thank you for it!