DIY Golf Ball Retriever: Make Your Own at Home
Golf is a sport of precision and patience, but even the best players occasionally find their balls straying off course into water hazards or dense underbrush.
Retrieving lost golf balls can be a hassle and an expense, which is why a golf ball retriever is a handy tool for any golfer.
However, purchasing a commercial golf ball retriever can be costly.
The good news is that, with a little ingenuity and some basic materials, you can make your own DIY golf ball retriever at home.
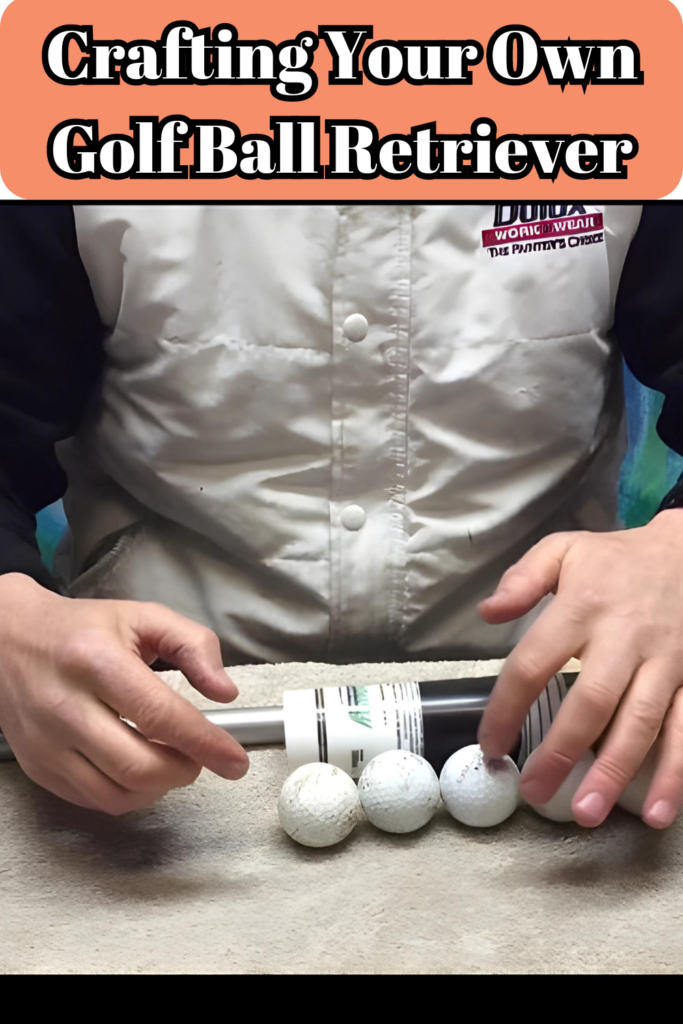
Why Make Your DIY Golf Ball Retriever?
Cost-Effective Solution
Commercial golf ball retrievers can range from $20 to $100 or more, depending on their features and materials.
By making your own diy golf ball retriever, you can save a significant amount of money, especially if you frequently find yourself fishing for balls.
Customization
When you create your own golf ball retriever, you have the freedom to customize it to your specific needs and preferences.
You can choose the length, materials, and design that best suit your playing style and the typical environments where you lose balls.

Fun DIY Project
For those who enjoy DIY projects, building their own diy golf ball retriever can be a fun and rewarding experience.
It’s an opportunity to exercise your creativity and craftsmanship while creating something practical.
Materials and Tools Needed
Before you start building your diy golf ball retriever, gather the following materials and tools:
Materials
- PVC Pipe: A lightweight and sturdy material that can be easily cut and assembled. You’ll need a length of PVC pipe, typically 3/4 inch in diameter, though you can adjust the size based on your preference.
- PVC Pipe Fittings: Various fittings like T-joints, elbows, and end caps are used to create the desired structure.
- Retractable Mechanism: An optional feature that allows the retriever to extend and retract. This can be made using a telescoping pole or a fishing rod blank.
- Net or Basket: A small net or basket to catch the golf ball. You can use a mesh bag, a metal basket, or even a repurposed kitchen strainer.
- Glue or Epoxy: To secure the fittings and ensure a sturdy construction.
- String or Wire: To attach the net or basket to the PVC pipe.
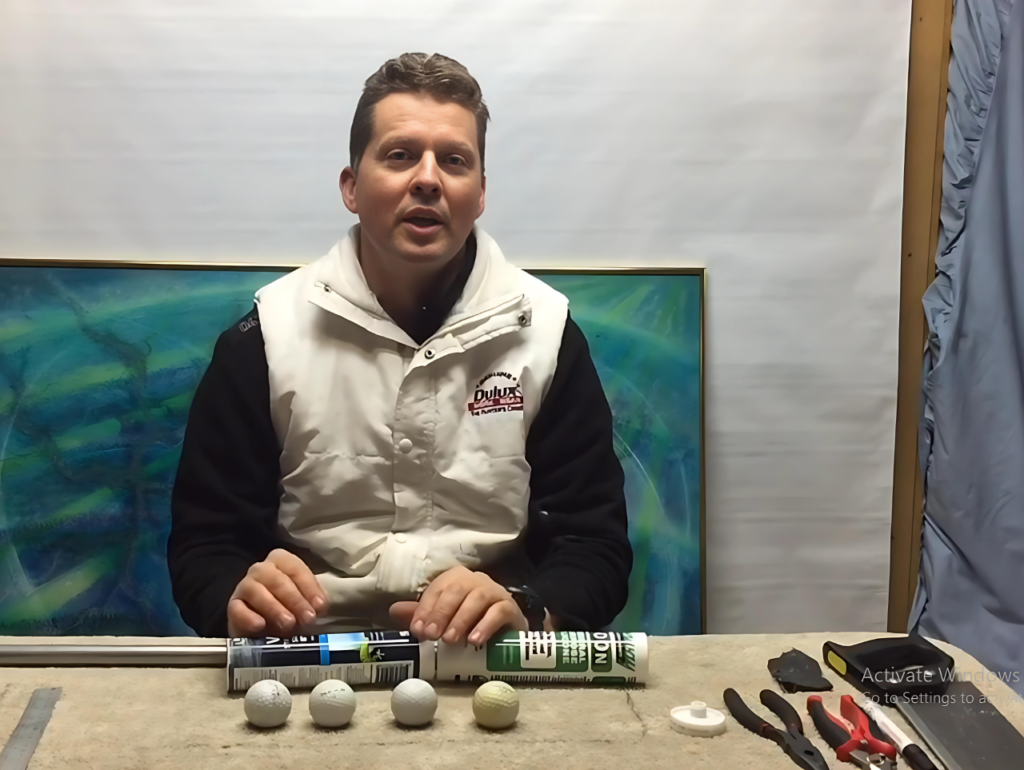
Tools
- Saw: To cut the PVC pipe to the desired lengths.
- Drill: For making holes in the PVC pipe, if necessary.
- Measuring Tape: To measure and mark the PVC pipe before cutting.
- Sandpaper: To smooth the edges of the cut PVC pipe.
- Marker: For marking measurements on the PVC pipe.
Step-by-Step Guide to Making a DIY Golf Ball Retriever
Step 1: Planning and Design
Before you start cutting and assembling, it’s essential to have a clear design in mind.
Decide on the length of the retriever, taking into account how far you typically need to reach.
A standard length is around 10 to 12 feet, but you can adjust this based on your needs.
Sketch a rough design, including where the fittings and net or basket will be placed. This plan will guide you through the construction process and ensure you have all the necessary materials.
Step 2: Cutting the PVC Pipe
Measure and mark the PVC pipe according to your design. If you’re making a telescoping retriever, you’ll need multiple sections of pipe that can nest inside each other.
Use the saw to cut the pipe to the desired lengths, and then use sandpaper to smooth the edges of each cut.
Step 3: Assembling the Retriever
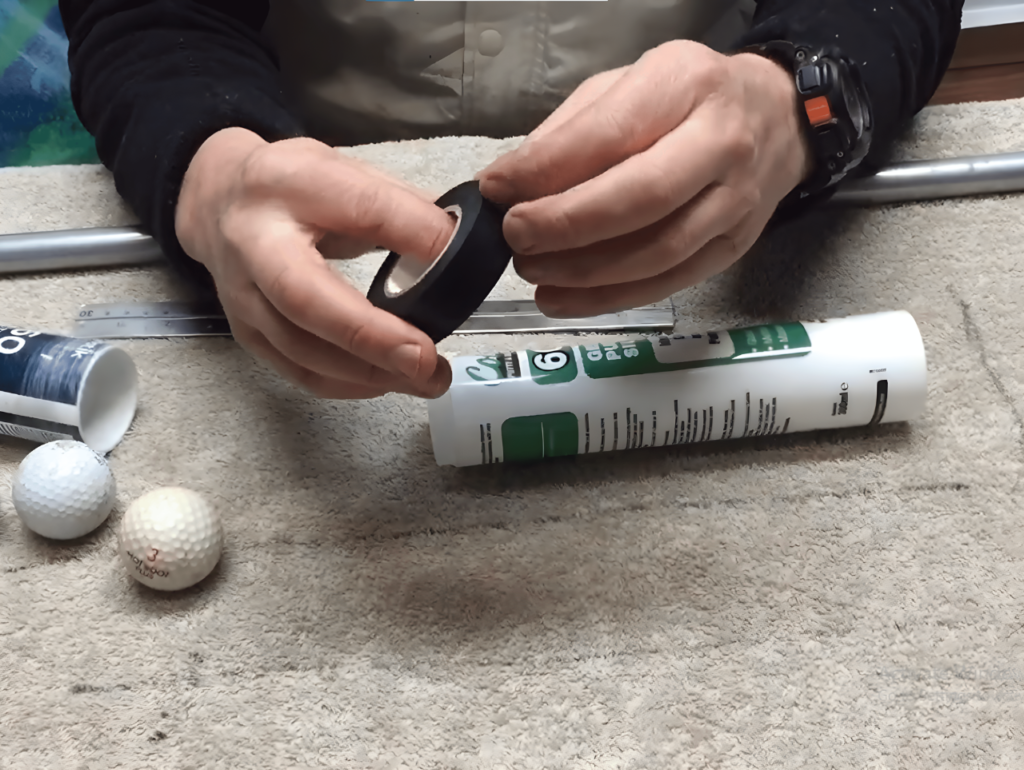
Start by assembling the base structure of the retriever. Use the PVC pipe fittings to connect the sections of pipe according to your design.
Apply glue or epoxy to the joints to ensure they are secure. If you’re incorporating a retractable mechanism, assemble the telescoping sections at this stage.
Step 4: Attaching the Net or Basket
Attach the net or basket to the end of the retriever. If you’re using a PVC end cap, drill holes in the cap and secure the net with string or wire.
Ensure the attachment is strong enough to hold the weight of a golf ball.
Step 5: Testing and Adjustments
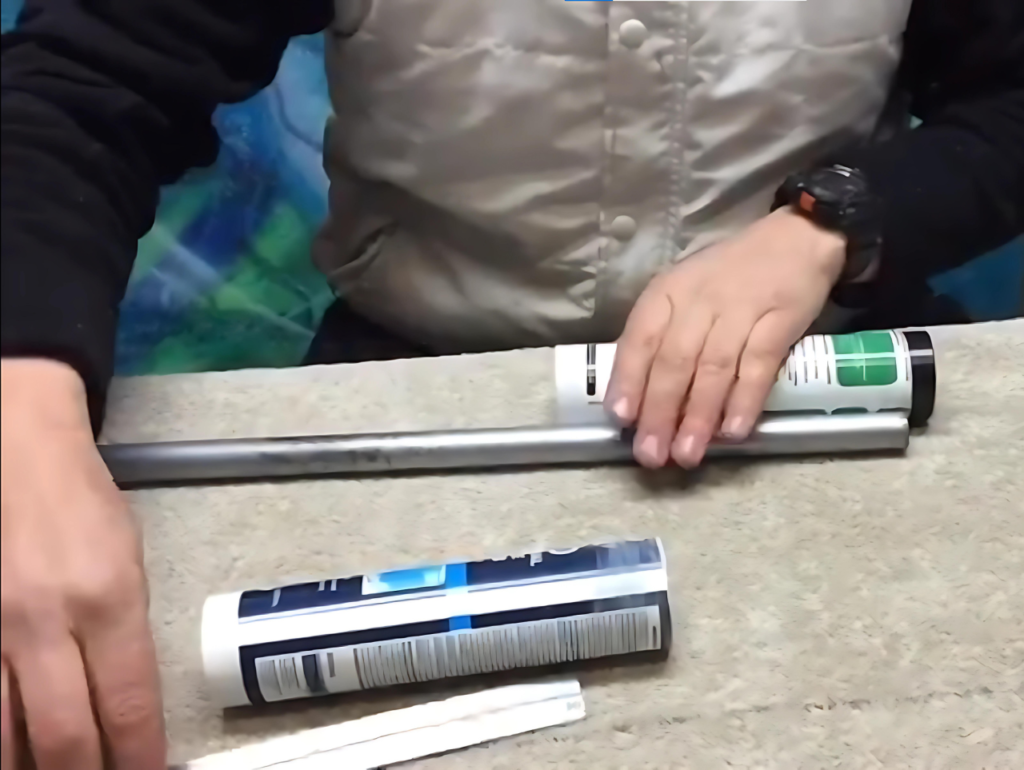
Once the retriever is assembled, test it out to make sure it functions as expected.
Try retrieving a golf ball from various distances and angles. If you encounter any issues, make adjustments as necessary.
This might involve reinforcing joints, adjusting the length, or modifying the net attachment.
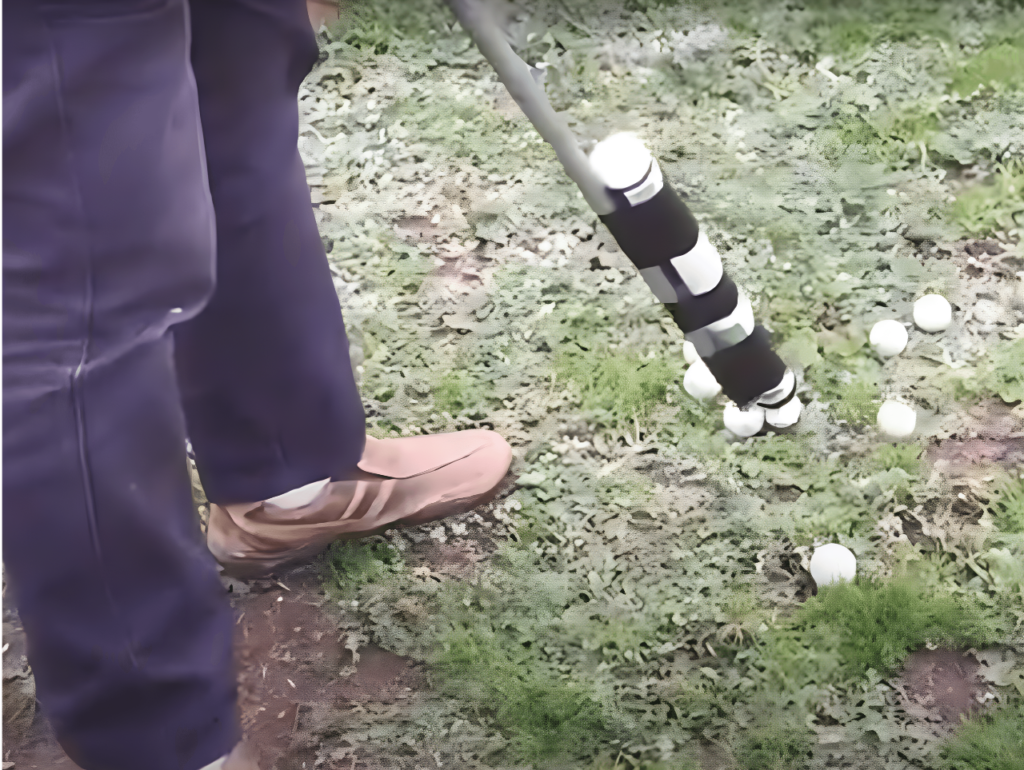
Related : Extendable Pole vs Scoop vs Claw Retriever
Enhancing Your DIY Golf Ball Retriever
Adding a Grip
To make your retriever more comfortable to use, consider adding a grip to the handle.
You can use a foam pipe cover, tennis racket grip tape, or any other material that provides a comfortable and secure grip.
Incorporating a Telescoping Mechanism
A telescoping mechanism allows the retriever to extend and retract, making it more convenient to carry and store. You can use a telescoping pole, such as an old fishing rod or a commercial telescoping paint roller extension.
Secure the telescoping sections to the PVC pipe and ensure they can extend and lock in place as needed.
Making It Float
If you often retrieve balls from water hazards, consider making your retriever float. You can do this by attaching foam pool noodles or other buoyant materials to the PVC pipe.
This way, if you accidentally drop the retriever in the water, it will stay afloat and be easy to retrieve.
Adding a Locking Mechanism
To prevent the sections of a telescoping retriever from collapsing during use, add a locking mechanism.
This can be as simple as a twist-lock feature or a more complex button-lock system. Ensure that the mechanism is secure and easy to operate.
Benefits of Using a DIY Golf Ball Retriever
Saves Money
One of the most significant advantages of making your own golf ball retriever is the cost savings.
Commercial retrievers can be expensive, but a DIY version can be made for a fraction of the cost using readily available materials.
Reduces Environmental Impact
By using recycled or repurposed materials, you can reduce your environmental impact.
For example, using an old fishing rod as the base for your retriever is a great way to give new life to an item that might otherwise be discarded.
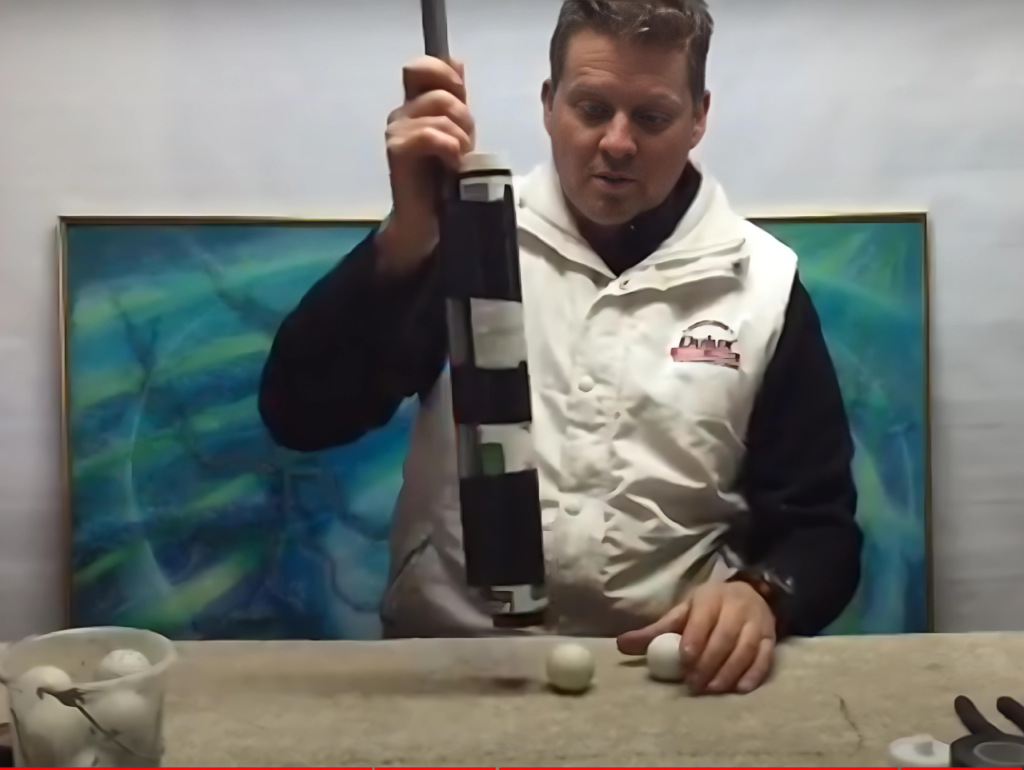
Customizable to Your Needs
A DIY retriever can be customized to your specific needs. You can choose the length, materials, and design that best suit your playing style and typical environments where you lose balls.
This level of customization is often not possible with commercial retrievers.
Provides a Sense of Accomplishment
Building your own diy golf ball retriever can be a fun and rewarding project.
It provides a sense of accomplishment and pride in creating something useful with your own hands.
Troubleshooting Common Issues
Retriever Is Too Heavy
If your retriever feels too heavy, consider using lighter materials for the handle, such as thinner PVC pipe or aluminum tubing.
Reducing the length of the retriever can also help decrease the weight.
The net or Basket Falls Off
If the net or basket falls off during use, ensure that it is securely attached with a strong string or wire. You can also use zip ties for added security.
Applying epoxy or glue to the attachment points can provide additional strength.
Telescoping Mechanism Sticks
If the telescoping mechanism sticks or doesn’t extend smoothly, apply a small amount of lubricant, such as silicone spray, to the joints.
Ensure that the sections are free of dirt and debris that might cause sticking.
Retriever Doesn’t Reach Far Enough
If your retriever doesn’t reach far enough, you may need to extend the length.
This can be done by adding more sections of PVC pipe or using a longer telescoping mechanism.
Ensure that the additional length does not compromise stability or ease of use.
Safety Considerations
Handling Tools
When cutting and assembling the retriever, always handle tools with care. Wear appropriate safety gear, such as gloves and safety glasses, to protect yourself from injury.
Using the Retriever
When using the retriever, be cautious of your surroundings. Avoid swinging the retriever near other people or fragile objects.
If retrieving balls from water hazards, be mindful of your footing and avoid slipping.
Storage
Store the retriever in a safe place when not in use. Ensure that it is not left in areas where it might be a tripping hazard or where it can be damaged.
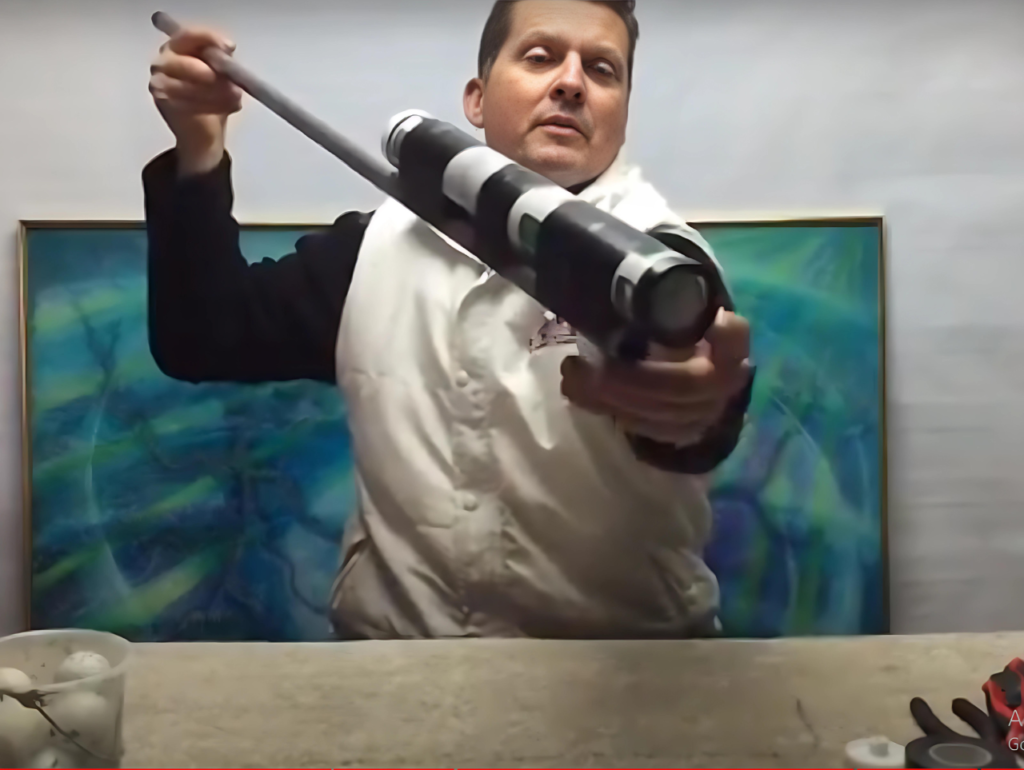
My Thoughts
Creating your own DIY golf ball retriever is a cost-effective, customizable, and rewarding project.
By following the steps outlined in this guide, you can build a functional retriever that meets your specific needs and preferences.
Whether you’re an avid golfer looking to save on costs or a DIY enthusiast seeking a new project, making your own diy golf ball retriever is a practical and enjoyable endeavor.
With a little effort and creativity, you can ensure that lost golf balls are no longer a frustration on the course. Enjoy the game, and happy golfing!
